
[ad_1]
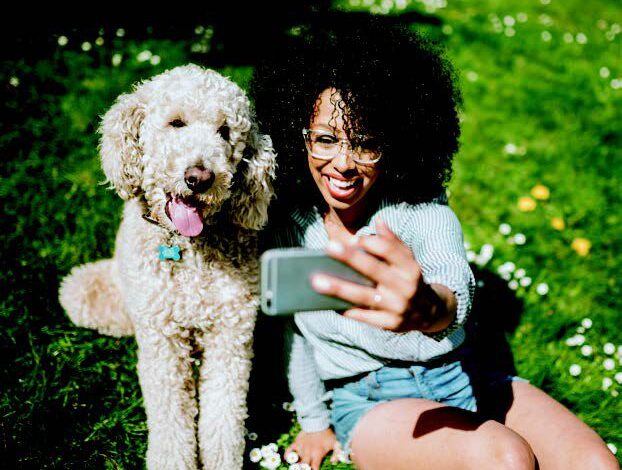
Our 2-year-old rescue, Emmy, has a silly personality; she makes our whole family laugh with her expressive face and enthusiasm for cuddling, and I try to capture many of these moments on my phone. But, I wanted my kids to have an easy way to look through these silly moments with Emmy whenever they needed a laugh.
Using inspiration from a plethora of craft bloggers online, I made an accordion, or pull-out, photo box. Trust me when I say, I am not an experienced or skilled crafter! But, this project was simple and fun, and makes a cute decoration on their nightstands.
San Francisco-based Soulful Pet Photography owner Pipi Ray Diamond gave me some tips on narrowing down my overwhelming library of photos on my phone, organizing them moving forward and choosing meaningful pictures.

You can customize nearly every part of this project from box size to color to number of photos. Get creative! Here’s a place to start:
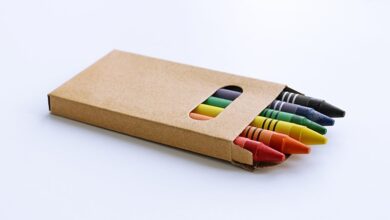
Materials

✔ A small box (mine is 4 x 4 inches). I used wood, but you can use any material.
✔ Paint and paintbrush (optional)
✔ A few sheets of cardstock
✔ Photos sized to fit into your box (I cut mine to 3 x 3 inches)
✔ Ruler
✔ Tape or glue
✔ Pencil
✔ Scissors or craft knife
✔ Ribbon or rope for making a loop to pull out the photo train
Instructions
- Paint your box (optional). My box was a light wood, and I painted it with gray chalk paint.
- While it’s drying, measure and cut your cardstock into strips according to the width of your box size. I cut mine to 31/2 x 31/2 inches to fit into my 4 x 4-inch box.

- Measure down your strip based on how large your photos are (I measured every 31/2 inches) and pencil in a small line for guide folds.
- Fold the strip into an accordion by alternating front and back folds. Cut as many strips as you need to accommodate your photos, and tape or glue the end of the strips together. You should have one long accordion cardstock strip.

- Glue or tape your photos onto each fold of the accordion.
- Create a loop with your ribbon or string and tape it to the top of the accordion to pull the photos out. I cut and looped a pipe cleaner. Glue down a scrap piece of cardstock over the end of the loop to cover the tape or glue mark.

- Fold your accordion and place it in the box
- Tape one last picture on the top, which you’ll see when you open the box.

Pro tips
Pipi Ray Diamond, owner of San Francisco-based Soulful Pet Photography shares these tips:
✤ Pay attention to how a photo makes you feel. If the photo brings out an endearing emotion, it’s a keeper.
✤ Photos tell a story. Consider how adjacent photos are “talking” to each other.
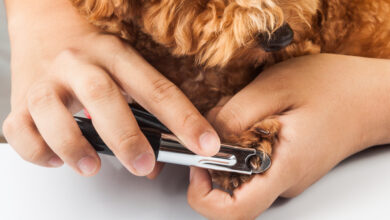
✤ A series of close-up shots of body parts, like the paws, nose and ears, make a memorable grouping in a photo collection.
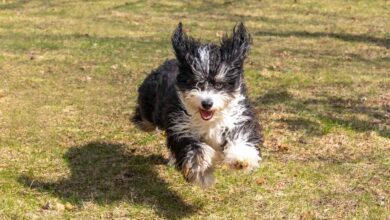
✤ Capture your dog doing what he loves to do most, even if it’s sleeping. To capture clear action shots, consider investing in a DSLR camera, which has a faster shutter speed than a phone.
✤ Always back up your pictures. Moving forward, organize them by year on your computer. This will help you keep track of how your dog’s appearance changes over time.
[ad_2]