
[ad_1]

From our sponsor:  Create stunning brand assets with the help of our AI-driven Creative Assistant. Get started today.
I recently discovered the website of Orion Icon library and I instantly fell in love with their motion opening video.
This video felt to me like a perfect challenge to recreate it using only SVG and GreenSock.
I did adapt a bit the motion and used my own name instead of Orion, but here is my pretty decent result ✨
See the Pen
Orion Icon Library intro animation by Louis Hoebregts (@Mamboleoo)
on CodePen.
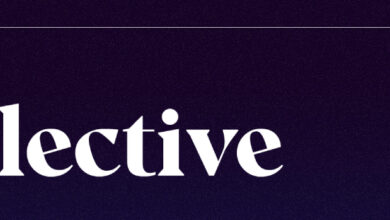
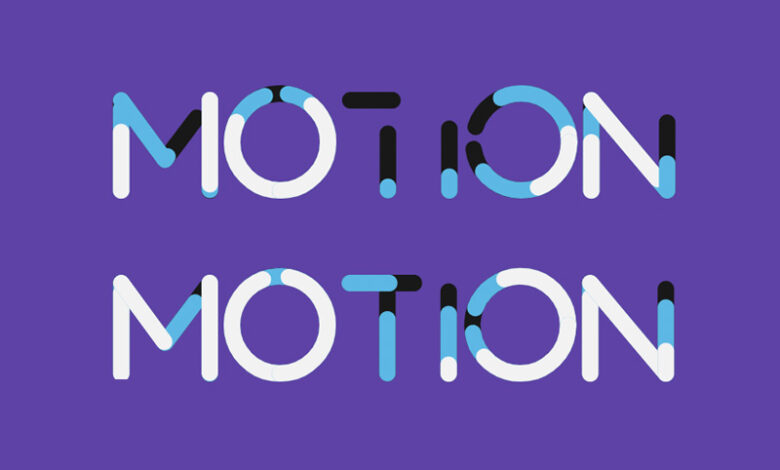
In this article we will only focus on the typography animation of the logo. Here is the part of the motion with the logo that I slowed down 3 times to clearly show what is happening.
From what we can see, each path is being drawn three times, each with a different colour and a little delay between each.
Here are the 3 steps we will follow in this tutorial:
- Create the SVG file using an hairline font
- Load your SVG and dynamically generate the markup
- Setup a GreenSock animation for each letter
- Control paths direction
1. Create the SVG file using an hairline font
Sadly this animation cannot be made easily with any typeface you want. This is because we need each letter to be drawn from a single path using a thick stroke. We call that kind of typeface a monoline, hairline or even stroke font.

There are different ways of drawing your own text with single strokes.
Once you have chosen your method, edit the paths the way you want your animation to behave.
Let’s say for example that we want the letter O to be drawn from two paths going left and right instead of a single path doing a full circle. Select your letter and cut it in half in any your vector software.

Export your file on your computer and import it to SVGOMG to optimize and remove any unwanted code. Make sure the option Merge paths is disable, otherwise you might have some letters combined into a single path.

2. Load your SVG and dynamically generate the markup
For this animation, we need each path to be drawn three times, every time with a different colour. We could already have all the paths ready in our markup, but I find it easier to make it directly in our JavaScript.
So each path has to be duplicated twice, with a different colour each time.
Let’s create a function we can call for each path tag in our SVG and generate the clones.
// Store an array with the colours we want for this animation
// The last colour being the final state of the text
const colors = ['#e97777', '#ffc777', '#fffad7'];

// This function receives 2 parameters
// The SVG node (a path, line,...)
function tween (node, index) {
  // Store the node in another variable
  let path = node;
 // Loop through the colors
  colors.forEach((color, index) => {
    // If this is not the first iteration, clone the path
    if (index !== 0) {
      path = path.cloneNode();
      // Append the clone to the source path's parent
      node.parentNode.appendChild(path);
    }
    // Assign the colour stroke on the path
    path.setAttribute('stroke', color);
  });
}

// Call the function for each element we want to animate
// Since I also have line tags in my SVG, I need to select every path and line elements
document.querySelectorAll('.mySvg path, .mySvg line').forEach(p => tween(p));
If you load the page now, there shouldn’t be any difference except for the strokes to be the colours of your last item in the array.
But if you inspect the page, you should see each path being duplicated twice in the DOM.

3. Setup a GreenSock animation for each letter
Lastly, we will animate each path using the stroke-dashoffset technique. If you are not familiar with it, you can check this short post by Chris Coyier that explains it very well.
We first create a global TimeLine so that we can repeat the animation easily. For the sake of the demo, I’m also using the GreenSock DevTools and I initiate the devtools with the timeline (⚠️ Those devtools only work for free on CodePen).
// Create a GreenSock timeline that will repeat infinitely
const tl = gsap.timeline({
  id: 'Timeline',
  repeat: -1,
  repeatDelay: 1.5
});

// Setup the devtools for the demo
GSDevTools.create({
  animation: tl
});
function tween (node) {
// [...]
// Define a random delay when the tween will start
const delay = Math.random();
// Calculate the length of the path
const length = path.getTotalLength();
colors.forEach((color, index) => {
// [...]
// Assign the stroke-dasharray and stroke-dashoffset properties to the path's length
// Because of rounded linecap, we sometimes see a little dot at the beginning of the path
// To avoid that, I'm increasing the values a little bit until I don't see any dot
tl.set(path, {
strokeDasharray: length + 0.5,
strokeDashoffset: length + 0.6,
autoRound: false // Avoid issue with GreenSock rounding our values to integers
}, 0); // We want this to happen at the very beginning of our TimeLine
// Animate each path to an offset of 0 so that it makes it visible again
// Try playing with all the values here!
tl.to(path, {
strokeDashoffset: 0,
autoRound: false,
duration: 1.2,
ease: `power3.out`
// Offset each tween with 250ms so that they don't animate all at once
}, index * 0.25 + delay);
});
}See the Pen Typography animation by Louis Hoebregts (@Mamboleoo) on CodePen.
4. Control paths direction
In this animation, the letter i is being animated from the bottom to the top. Let’s say that we want to be the opposite!
You have two ways of doing that.
The first one would be to reverse the animation and animate the stroke-dashoffset from the length value, to two times the length (length * 2).
But if we do that directly, it would impact all the paths. So we would need a way to trigger this only on specific nodes for example with adding a data-reverse="true" attribute on the paths we want to reverse and reverse the animation for them.
The second solution is to go back in your vector software and reverse the path direction.
- For Adobe Illustrator, select your path and go to Object→Path→Reverse Path Direction
- For Inkscape, select your path and go to Path→Reverse
Export your file again, optimize it and re-import it in your page.
Bonus: More examples
Here are more demos using the same technique.
Feel free to check the comments in the code to understand how they works!
See the Pen Typography animation 2 by Louis Hoebregts (@Mamboleoo) on CodePen.
See the Pen Typography animation 3 by Louis Hoebregts (@Mamboleoo) on CodePen.
That’s all ✨
I hope you will find this tutorial useful for maybe one of your project. If so, please share with me what you came up with!
Try using different and more colours, tweaking the values of for the duration or delays, maybe even the easing. Now it is up to you to make your own typography animation 🌈
[ad_2]