Creating a Bulge Distortion Effect with WebGL
[ad_1]
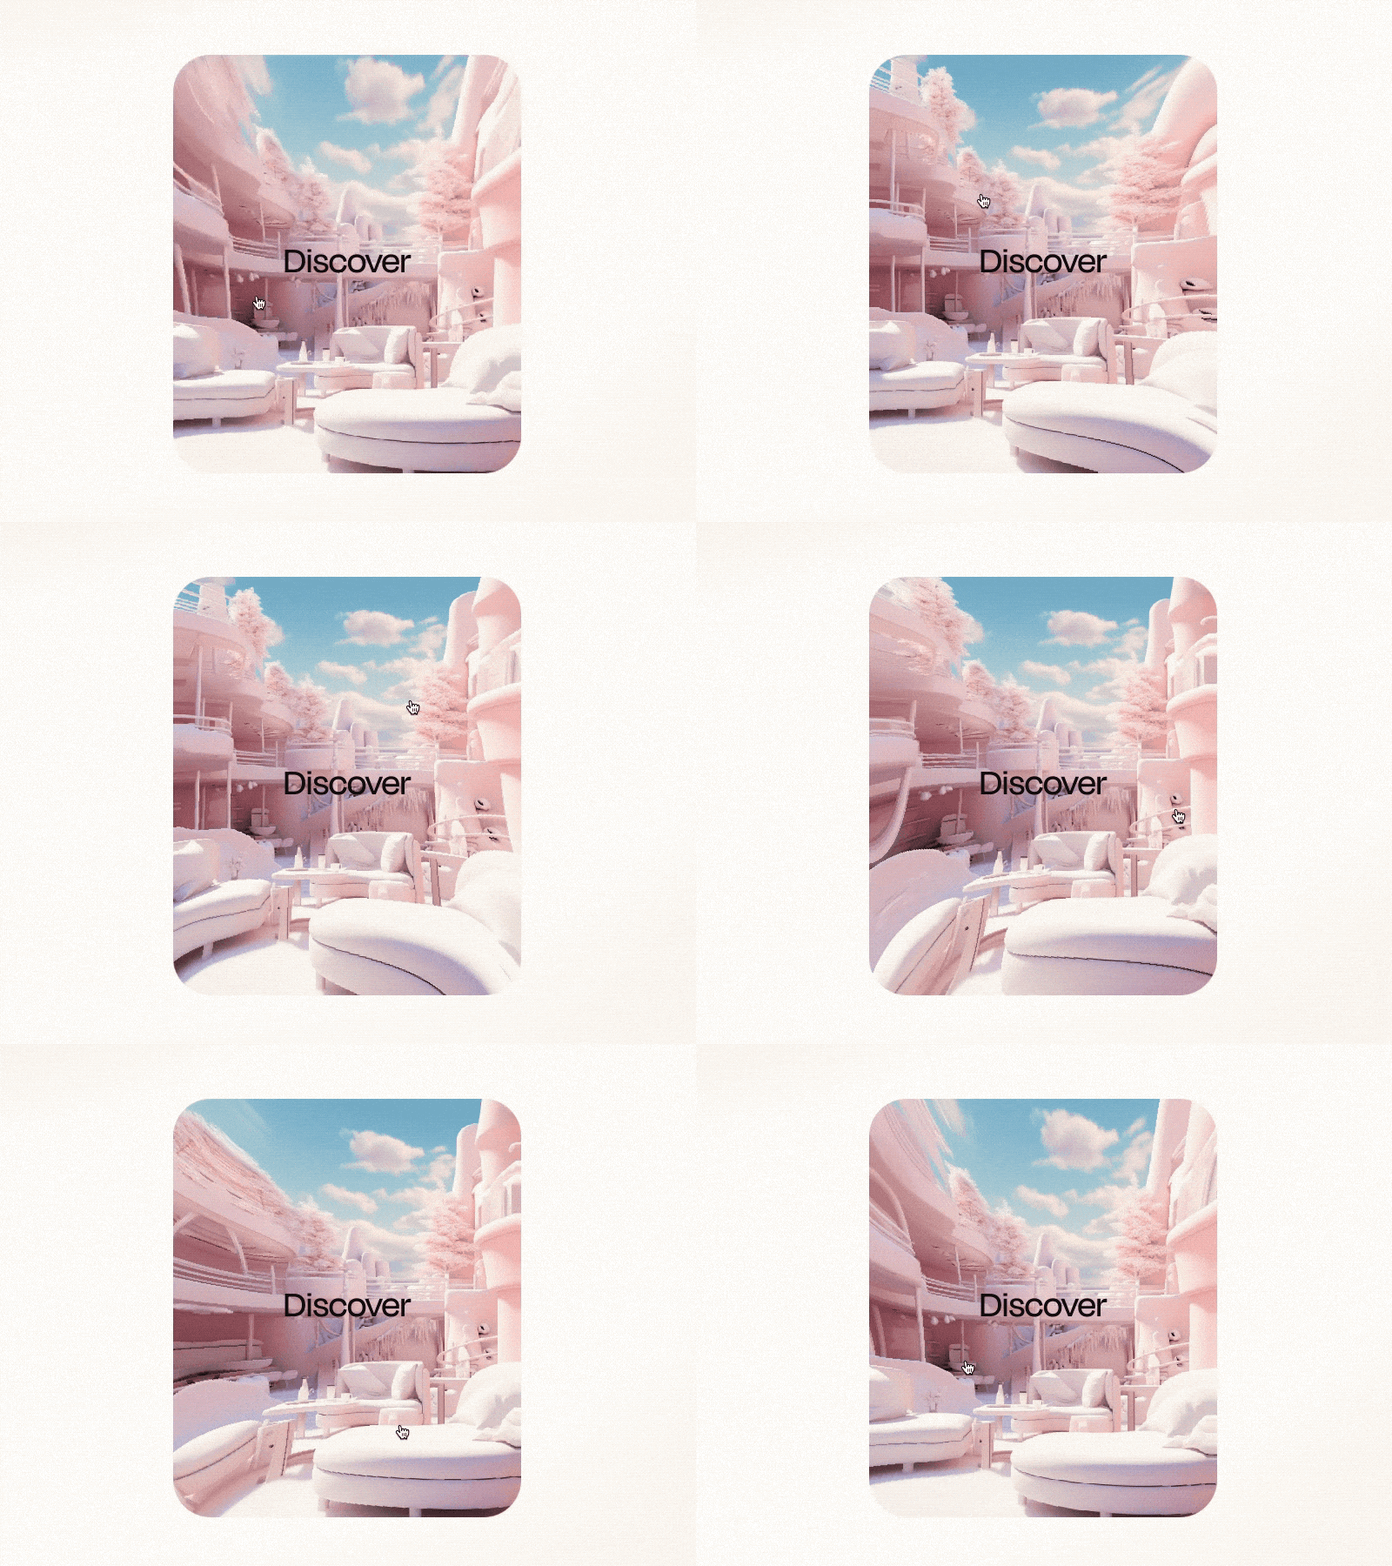
Distortion in WebGL can be a lot of fun. Recently, I had to create a special effect called “Bulge” for a project on the Upperquad.com website. Here is a short video showcasing it.
The idea was to create a distortion that originates from a point and pushes everything around it. In “Adobe After Effects,” you can achieve this using the “Bulge Effect.” It allows you to “grow” a specific area of an image, similar to blowing into a bubble to make it expand. This effect can create some amusing and interesting visuals.

You can also reverse this effect.

In this quick tutorial, we’ll explore how to create a bulge effect on a texture using OGL, a lightweight WebGL library developed by Nathan Gordon. To achieve this effect, you’ll need a basic understanding of JavaScript, WebGL, and shaders. However, if you prefer, you can also download the demo directly and experiment with the code.
Contents
1. Getting started
First, let’s create a basic 2D WebGL scene using OGL. You can download and start from this template repository, which includes everything you need.
Inside this template, you already have an HTML canvas tag with CSS to make it fullscreen. In JavaScript, you have the setup of a Renderer, a Program with its shaders and uniforms, and a mesh that is being rendered at approximately 60 frames per second. The template also includes a resize function. The shaders of the program display an animated gradient background. Here they are:
// src/js/glsl/main.vert
attribute vec2 uv;
attribute vec2 position;
varying vec2 vUv;

void main() {
  vUv = uv;
  gl_Position = vec4(position, 0, 1);
}
// src/js/glsl/main.frag
uniform float uTime;
uniform vec3 uColor;
uniform float uOffset;
varying vec2 vUv;
void main() {
gl_FragColor.rgb = 0.3 + 0.3 * cos(vUv.xyx * uOffset + uTime) + uColor;
gl_FragColor.a = 1.0;
}PS: In OGL, Nathan Gordon’s idea is to create a fullscreen Mesh in the scene by drawing only 1 triangle instead of 2 (as you would typically do to create a rectangle). Then, the UVs are used to map the screen of your window. Essentially, it’s like having a square inside a triangle (as shown on the right) to save on points:

Here is the result:
PS: You can achieve a similar background scene in Three.js by using a PlaneGeometry and a ShaderMaterial.
2. Displaying the texture in “background-cover”
First, let’s make a promise to load a texture. You can choose any image you want and place it in the public/ folder. We’ll create a new Image(), set the image URL as the source, and load it. Then, using new Texture(this.#renderer.gl) from OGL, we’ll turn it into a texture and attach the image to it using a new property called .image. We’ll use async/await to ensure that our texture finishes loading before creating our WebGL program.
// src/js/components/scene.js
// load our texture
const loadTexture = (url) =>
  new Promise((resolve) => {
    const image = new Image()
    const texture = new Texture(gl)

    image.onload = () => {
      texture.image = image
      resolve(texture)
    }

    image.src = url
  })

const texture = await loadTexture('./img/image-7.jpg')
Now, let’s add the texture to the uniforms of our program.
// src/js/components/scene.js
this.#program = new Program(gl, {
  vertex,
  fragment,
  uniforms: {
    uTime: { value: 0 },
    uTexture: { value: texture },
  },
})
And in our fragment shader.
// src/js/glsl/main.frag
precision highp float;

uniform sampler2D uTexture;
varying vec2 vUv;

void main() {
  vec4 tex = texture2D(uTexture, vUv);
  gl_FragColor.rgb = tex.rgb;
  gl_FragColor.a = 1.0;
}
Cool! As you can see, we have our texture, but it appears stretched.
Ideally, we want the texture to be “cropped” in our scene in the best possible way, regardless of whether it’s in landscape or portrait format. In CSS, there’s a property called “background-size: cover” that magically achieves this effect, but in WebGL, it’s more complex to implement.
Fortunately, I have a small piece of code that can make the UVs behave like a “background-size: cover” effect. Let’s use it. But first, we need to pass the resolution of the image and the canvas to our uniforms.
// src/js/components/scene.js
...
uTextureResolution: { value: new Vec2(texture.image.width, texture.image.height) },
uResolution: { value: new Vec2(gl.canvas.offsetWidth, gl.canvas.offsetHeight) },
...
Let’s add our UV crop function in the vertex shader (./src/js/glsl/main.vert)
attribute vec2 uv;
attribute vec2 position;

uniform vec2 uResolution;
uniform vec2 uTextureResolution;

varying vec2 vUv;

vec2 resizeUvCover(vec2 uv, vec2 size, vec2 resolution) {
    vec2 ratio = vec2(
        min((resolution.x / resolution.y) / (size.x / size.y), 1.0),
        min((resolution.y / resolution.x) / (size.y / size.x), 1.0)
    );

    return vec2(
        uv.x * ratio.x + (1.0 - ratio.x) * 0.5,
        uv.y * ratio.y + (1.0 - ratio.y) * 0.5
    );
}

void main() {
  vUv = resizeUvCover(uv, uTextureResolution, uResolution);
  gl_Position = vec4(position, 0, 1);
}
Don’t forget to update the uResolution on resize in “./src/js/components/scene.js”.
// src/js/components/scene.js
handleResize = () => {
  this.#renderer.setSize(window.innerWidth, window.innerHeight)

  if (this.#program) {
    this.#program.uniforms.uResolution.value = new Vec2(window.innerWidth, window.innerHeight)
  }
}
Now we have our image nice and cropped, let’s Distort it!
3. Distort the image with the Bulge effect
To create the bulge effect, we want to displace the UVs based on the center of the image. UVs range from 0 to 1, where U represents the pixels from left to right of the image and V represents the pixels from bottom to top.
To achieve the “bulge” effect, we can multiply the UVs by the distance from the center. The built-in function length() in GLSL gives us the length between pixels, as explained in the book of shaders. Let’s create a function called bulgeEffect() to handle this calculation and apply the modified UVs to our texture in the fragment shader.
// src/js/glsl/main.frag
vec2 bulge(vec2 uv) {

  float dist = length(uv); // distance from UVs top right corner
  uv *= dist;

  return uv;
}

void main() {
  vec2 bulgeUV = bulge(vUv);
  vec4 tex = texture2D(uTexture, bulgeUV);
  gl_FragColor.rgb = tex.rgb;
  gl_FragColor.a = 1.0;
}
The distortion appears to be from the bottom right corner rather than the center. To fix this, let’s subtract 0.5 from the UVs before performing the distortion calculation, and then add them back afterwards to center our distortion.
// src/js/glsl/main.frag
vec2 bulge(vec2 uv, vec2 center) {
  uv -= center;

  float dist = length(uv); // distance from UVs
  uv *= dist;

  uv += center;

  return uv;
}

void main() {
  vec2 center = vec2(0.5, 0.5);
  vec2 bulgeUV = bulge(vUv, center);
  vec4 tex = texture2D(uTexture, bulgeUV);
  gl_FragColor.rgb = tex.rgb;
  gl_FragColor.a = 1.0;
}
That’s working, but the effect is not very strong.
Using power functions is very usefull to increase drastically an effect, and glsl already have pow() for us. Let’s try with 2.
  // src/js/glsl/main.frag
  ...
  float dist = length(uv); // distance from UVs
  float distPow = pow(dist, 2.); // exponential
uv *= distPow; 
Now, if you want to revert the effect, you can divide the bulge effect by a radius to have more control. Feel free to tweak these values until you achieve the desired effect.
// src/js/glsl/main.frag
...
const float radius = 0.6;
const float strength = 1.1;

vec2 bulge(vec2 uv, vec2 center) {
  uv -= center;

  float dist = length(uv) / radius; // distance from UVs divided by radius
  float distPow = pow(dist, 2.); // exponential
  float strengthAmount = strength / (1.0 + distPow); // Invert bulge and add a minimum of 1)
  uv *= strengthAmount;

  uv += center;

  return uv;
}
4. Adding interactivity
Finally, let’s make this bulge effect track the mouse with a mouse move event. ????
Let’s use a uMouse uniform for that.
// src/js/components/scene.js
...
// In the uniform's Program
uMouse: { value: new Vec2(0.5, 0.5) },
...

...
  // Add event listener
  window.addEventListener('mousemove', this.handleMouseMove, false)
...
...
// On mouse move we want the this.#mouse value to be
// between 0 and 1 X and Y axis
handleMouseMove = (e) => {
  const x = e.clientX / window.innerWidth
  const y = 1 - e.clientY / window.innerHeight

  this.#mouse.x = x
  this.#mouse.y = y

  // update the uMouse value here or in the handleRAF
  this.#program.uniforms.uMouse.value = this.#mouse
}
...
...
Then in the fragment shader, we just have to replace center with our uMouse.
// src/js/glsl/main.frag
uniform vec2 uMouse;
...
   vec2 bulgeUV = bulge(vUv, uMouse);
...
And that’s it ???? Hover with your mouse to see it in action:
Of course, from that, you can add any effect you want. For example, you can play a GSAP animation to reset the effect when the mouse leaves the canvas, like in the demo, or add any effect you can imagine ????
We’ve seen that it’s pretty easy to play with distortion in WebGL with just a simple fragment shader, and there are a lot of other effects we can achieve. If you want to learn how to create another type of distortion using a noise texture, I invite you to watch one of my other tutorials on the topic. Cheers!
References
[ad_2]


